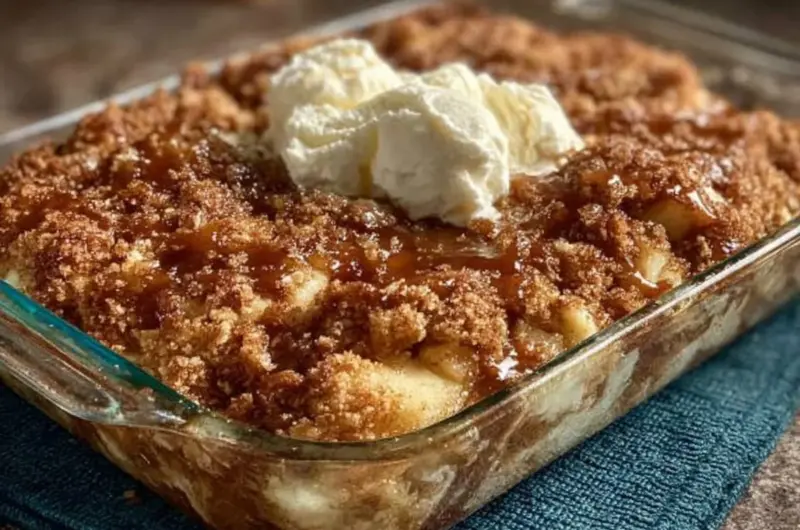
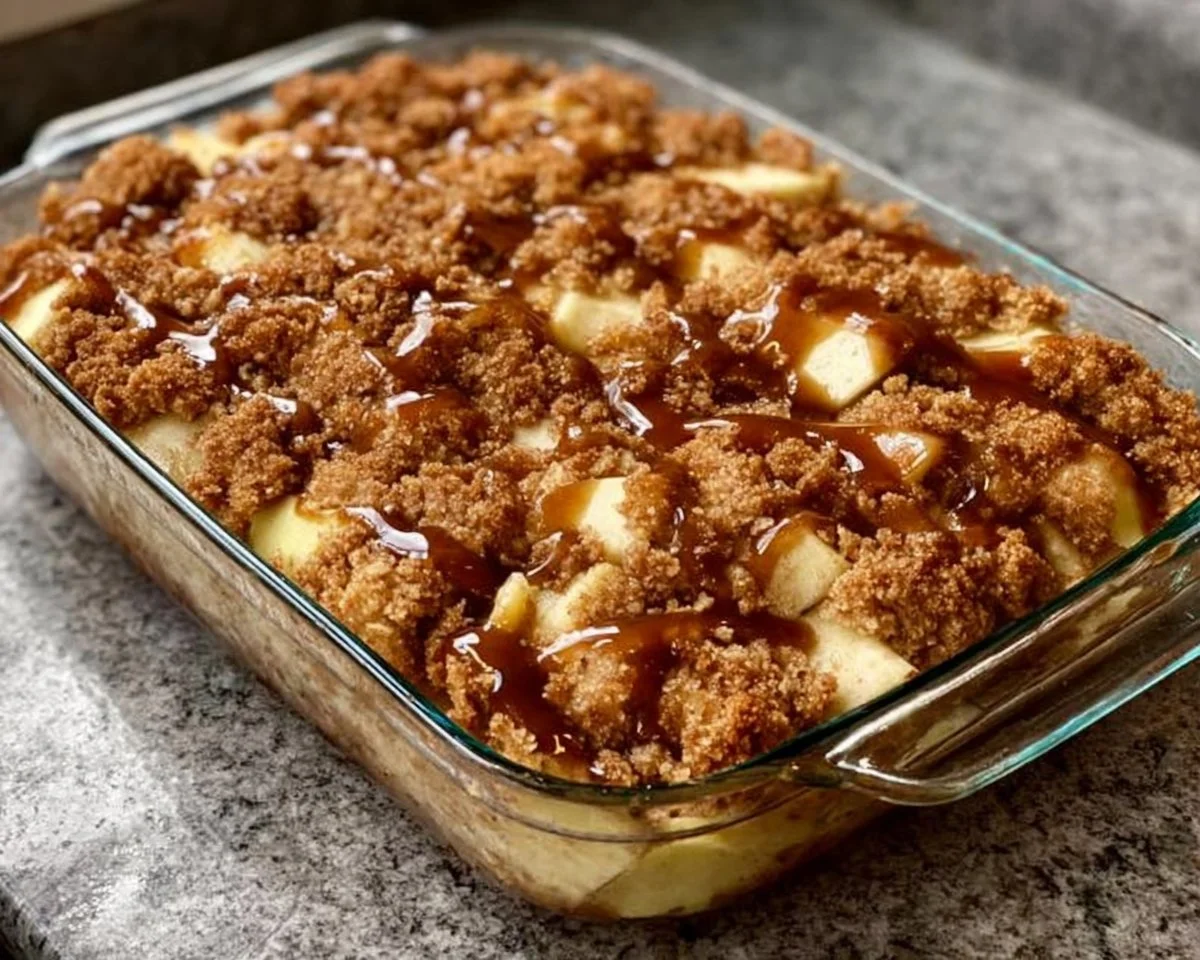
Creamy, juicy apple filling with a buttery, crunchy topping — that’s the cozy comfort of Old Fashioned Apple Crisp. This simple dessert brings warm cinnamon-scented apples and a golden crumb together in a way that feels like a hug on a plate. Fun fact: apple crisp became popular in America during the early 20th century as a quicker, less fussy alternative to pie — no pie crusts to roll out, just deliciousness in a baking dish. For a slightly different take, check our classic version at Old Fashioned Apple Crisp full recipe.
This recipe shines because it’s straightforward, fast to prepare, and hits that universal sweet spot that families and guests adore. It takes minutes to assemble, bakes in under an hour, and is kid-friendly to boot. Compared to a more elaborate apple pie, this crisp is faster, less equipment-intensive, and just as satisfying. Let’s get excited — this recipe is an approachable classic you’ll return to again and again.
What is Old Fashioned Apple Crisp?
Why “old fashioned”? Isn’t everything old fashioned when it tastes like grandma’s kitchen? The name nods to a time when simple ingredients and humble methods delivered maximum comfort. Curious where it began — an English cottage? A New England farmhouse? Who knows, but imagine a stove-warmed kitchen, a bowl of sliced apples, and the proud proclamation that “the way to a man’s heart is through his stomach.” Maybe that’s how the name stuck — rustic, homey, and built to please. Give it a try and you might decide it’s the most charmingly retro dessert you own.
Why You’ll Love This:
- Bold, comforting flavor: Tart apples mingle with warm cinnamon and a tender, golden topping that crisps up beautifully in the oven. The contrast between soft fruit and crunchy crumbs is irresistible.
- Budget-friendly and homey: Making this at home saves money compared to bakery or café versions, and you can use store apples or whatever you have on hand without compromising taste.
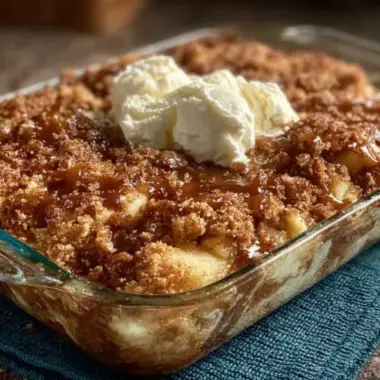
- Toppings that elevate: A scoop of vanilla ice cream or a drizzle of caramel transforms this simple dessert into something special, adding creaminess, temperature contrast, and a touch of indulgence.
If you enjoy simple fruit desserts, you’ll also love our other take on apple desserts — see the classic apple crisp recipe for another cozy option. Ready to bake? Let’s move to the kitchen.
How to Make:
Quick Overview
This Old Fashioned Apple Crisp is easy, tasty, and deeply satisfying. Preparation is minimal: peel and slice apples, mix a crumbly topping, assemble, and bake. You’ll get soft, juicy apples with a golden, slightly crunchy topping that provides both texture and flavor. Prep time is about 15–20 minutes and baking takes 30–40 minutes, making it perfect for a quick weeknight dessert or a comforting weekend treat.
Ingredients
- 5–6 cups peeled and sliced apples (Granny Smith, Honeycrisp, or your favorite variety), peeled, cored, and sliced evenly
- 1 cup all-purpose flour, measured and leveled
- 3/4 cup sugar, granulated
- 1 teaspoon baking powder, level teaspoon
- 1 teaspoon ground cinnamon, for the topping and extra for apples if desired
- 3/4 teaspoon salt, fine salt
- 1 unbeaten egg, cold from the fridge
- 1/3 cup melted butter, unsalted or salted as preferred, melted and cooled slightly
Directions
- Preheat oven to 350°F (175°C) and spray a 9×9 inch baking dish with nonstick spray. Make sure the oven rack is in the center for even baking.
- Arrange sliced apples evenly in the bottom of the dish. Spread them so they form an even layer — if apples are very tart, sprinkle a tablespoon of sugar over them.
- In a medium bowl, mix flour, sugar, baking powder, salt, cinnamon, and unbeaten egg until the mixture resembles coarse crumbs. Use a fork or your fingers to distribute the egg and form pea-sized clumps.
- Sprinkle the crumb mixture evenly over the apples, covering the surface as uniformly as possible to ensure even browning.
- Drizzle melted butter over the topping, pouring slowly so the butter soaks into the crumbs and creates a golden crust.
- Bake for 30–40 minutes, or until the apples are tender and the topping is golden brown. If the top browns too quickly, tent lightly with foil for the remaining time. Let cool 10–15 minutes before serving to set the filling.
What to Serve With:
- A scoop of vanilla ice cream for classic contrast between hot and cold.
- Whipped cream or crème fraîche for a light, creamy finish.
- Warm caramel sauce or a drizzle of maple syrup for added richness.
- Coffee, chai tea, or a glass of cold milk to balance sweetness.
- A small side salad with bitter greens and a vinaigrette if serving as part of a larger meal — the crisp works well as a cozy finish.
Top Tips for Perfecting:
- Apple choice: Granny Smith provide tartness that balances sugar; Honeycrisp or Fuji add natural sweetness and great texture. Mix varieties for better depth of flavor.
- Topping texture: If you prefer extra crunch, stir in 1/2 cup rolled oats or 1/3 cup chopped nuts (pecans or walnuts) into the crumb mixture.
- Butter distribution: Melted butter poured slowly ensures the topping browns evenly. For chunkier pockets of butter, dot with small pats instead of drizzling.
- Avoid soggy topping: Make sure the crumb mixture is coarse and not paste-like — the egg helps bind but should not make it wet.
- Even baking: If apples are very juicy, place the dish on a baking sheet to catch any spills and improve oven heat circulation.
Storing and Reheating Tips:
- Refrigerator: Cover tightly with plastic wrap or transfer to an airtight container. Keeps well for up to 4 days.
- Freezing: Cool completely, then wrap the baking dish tightly with foil and freeze up to 3 months. To reheat from frozen, bake at 350°F (175°C) for 45–60 minutes until hot and bubbly.
- Reheating leftovers: Warm individual portions in the microwave for 30–60 seconds, or reheat in a 350°F oven for 10–15 minutes to restore some crispness to the topping. For best texture, refresh under the broiler for 1–2 minutes while watching closely.
FAQs
Can I use frozen apples for this recipe?
Yes, but thaw and drain frozen apple slices well first to avoid excess liquid making the topping soggy. Toss with a tablespoon of flour if they seem extra juicy.
Can I make this recipe gluten-free?
Yes — swap the all-purpose flour for a 1:1 gluten-free baking flour and add 1/2 cup of oats (gluten-free) for texture. The topping will still brown nicely.
Is it necessary to peel the apples?
Peeling is traditional for a smoother filling, but leaving the peel on saves time and adds texture and nutrients. Choose thin-skinned apples if you skip peeling.
How do I make the topping extra crunchy?
Add 1/2 cup old-fashioned oats and 1/3 cup chopped nuts to the crumb mix, and use cold butter cut into the flour mixture for a craggier, crunchier topping.
Can I prepare this ahead of time?
Yes. Assemble the crisp in the dish, cover tightly, and refrigerate for up to 24 hours before baking. Add an extra 5–10 minutes to the bake time if chilled.
Conclusion
Old Fashioned Apple Crisp is proof that simple ingredients, minimal fuss, and a little oven time can create pure comfort. It’s quick to assemble, budget-friendly, and crowd-pleasing — perfect for weeknights, potlucks, or a cozy family dessert. If you want a tried-and-true variation to compare, see this excellent alternative: Old Fashioned Easy Apple Crisp – The Chunky Chef. Give this recipe a whirl, share it with loved ones, and enjoy the kind of warm, homey dessert that always brings people together.
Old Fashioned Apple Crisp
Equipment
- Baking Dish
- Mixing Bowl
Ingredients
Filling
- 5-6 cups Peeled and sliced apples Granny Smith, Honeycrisp, or your favorite variety
Topping
- 1 cup All-purpose flour Measured and leveled
- 3/4 cup Granulated sugar
- 1 teaspoon Baking powder Level teaspoon
- 1 teaspoon Ground cinnamon For the topping and extra for apples if desired
- 3/4 teaspoon Fine salt
- 1 unit Unbeaten egg Cold from the fridge
- 1/3 cup Melted butter Unsalted or salted as preferred, melted and cooled slightly
Instructions
- Preheat oven to 350°F (175°C) and spray a 9×9 inch baking dish with nonstick spray. Make sure the oven rack is in the center for even baking.
- Arrange sliced apples evenly in the bottom of the dish. Spread them so they form an even layer — if apples are very tart, sprinkle a tablespoon of sugar over them.
- In a medium bowl, mix flour, sugar, baking powder, salt, cinnamon, and unbeaten egg until the mixture resembles coarse crumbs. Use a fork or your fingers to distribute the egg and form pea-sized clumps.
- Sprinkle the crumb mixture evenly over the apples, covering the surface as uniformly as possible to ensure even browning.
- Drizzle melted butter over the topping, pouring slowly so the butter soaks into the crumbs and creates a golden crust.
- Bake for 30–40 minutes, or until the apples are tender and the topping is golden brown. If the top browns too quickly, tent lightly with foil for the remaining time. Let cool 10–15 minutes before serving to set the filling.